


Saturday, May 10, 2014


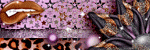
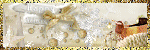
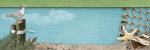
Preview of the stunning Salmon Dress tube by Danny Lee!

Preview of the gorgeous Salmon Dress kit by Lizquis Scraps!

Preview of Mask #42, created by me!

Preview of mask#13, created by me!
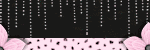
Snag Tag #1

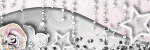
Snag Tag #2

Snag Tag #3

Snag Tag #4

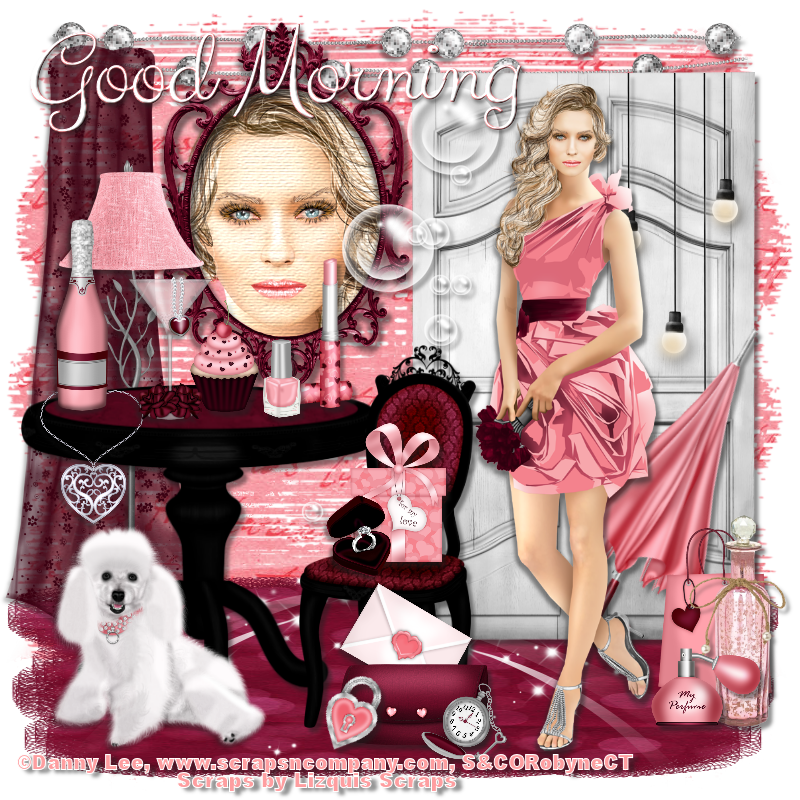
CT PTU TUT for the Salmon Dress tube by Danny Lee, and the Salmon Dress kit match by Lizquis Scraps!
Materials Needed
The Salmon Dress tube by Danny Lee, which can be purchased at S&CO HERE
The Salmon Dress kit match by Lizquis Scraps, which can also be purchased at S&CO HERE
Mask #42, created by me, which can be downloaded HERE
Mask #13, created by me, which can be downloaded HERE
PSP - I am using X5, but any should do
**This tutorial assumes that you have a working knowledge of basic functions in PSP. This tutorial is a creation of my own, and any similarities are purely coincidental. If you make something with one of my tuts or templates, please email it to me at robynebutts@gmail.com and I will post it her on my blog!
Okay, let's begin! Let's create our mask layer! Open whatever mask you chose, I chose 2 masks that I created. Now create a new image 800x800, with a transparent back. Now for these masks, I used a paper instead of flood-filling; so open paper 7 for Mask #42, and copy and paste it to the new image. Now, go to the top layers menu and click NEW MASK LAYER>FROM IMAGE..a pop up opens...click on the title of the mask you chose in the drop-down menu. Merge visible layers, then copy and paste it to the tag. Re-size and move as needed...for this one I increased the size by 10%, then centered it. Now repeat this process with Mask #13, using paper 6. Reduce by 30% and place at the bottom as a floor...D and FH.
Open the door, reduce by 30%, place bottom right.
Open the table, reduce by 10%, place bottom left.
Open the chair, reduce 40%, place right side, front of table.
Open the full-view of the tube, reduce 35%, place on right side, in front of door.
Open the dog, reduce 70%, place bottom left, in front of table.
Open the lamp#1, reduce 30%, place left side, behind table.
Open the frame 1, reduce 40%, place on wall, left of door.
Open the close-up of the tube, place in frame...FH, reduce to fit...erase extra..add canvas texture.
Open the curtain, reduce 25%, place on left behind lamp.
Open the bag, reduce 80%, place bottom right corner, front of the door.
Open the umbrella, reduce 30%, place bottom right, angled against door.
Open gift, reduce 80%, place in chair.
Open the drink, reduce 90%, place on table.
Open the champagne, reduce 80%, place on left side of table.
Open the bottle, reduce 70%, place bottom right, in front of bag.
Open the chair, reduce 60%, place on table.
Open the cupcake, reduce 90%, place on table, right of glass.
Open the purse, reduce 75%, place bottom left, front of chair.
Open the perfume, reduce 95%, place bottom right, front of bottle.
Open the balls, reduce 80%, place top left..D and FH, place top right.
Open the lipstick, reduce 85%, place on table.
Open the nail polish, reduce 95%, place on table, front of lipstick.
Open the lights, leaving the size as is, place on right side of door.
Open the ring box, reduce 98%, place on chair, in front of gift.
Open the letter, reduce 85%, place angled behind purse.
Open the clock, reduce 95%, place in front of purse.
Open the lock, reduce 95%, place in front of purse.
Open the bubbles, leaving the size as is, place on the left side of the door.
Open the sparkles 2, reduce 40%, place on left side of floor..D and FH and place on right side.
Lastly, add 3D drop shadows on whatever elements you would like them on. I like these settings: 2V 1H 70 op, 4B. Make sure at this point that you add copyright info for the tube artist..you can also add info for the scrap maker if the tube maker's TOU allows. Make sure you check TOU's!
You did it! You have completed this tut! Now you can add personalization to your creation! I hope you enjoyed this tutorial; if you did, please follow my blog, and pass it on to others! Also, please email your creations with my tuts or templates, and I will happily display them here on my blog (robynebutts@gmail.com)!
Hugz and Blessings,
Robyne'
Subscribe to:
Post Comments
(Atom)
Licensed Reseller
Beautiful Blog Award

Designer That Inspires Award

Blog I Love Award

Rawk My Socks Award

CU License Tagging Obsessions
Niqui Designs CU License

CU License Scraps Dimensions

DzinesByMelz CU License

Anorie's CU License

CU License Lacarolita's Designz
CU License Tezza'a Dezignz
CU License Scrap and Tubes
Cakie Pot Pie CU License

Denise Creationz CU License
EW CU License

FDM CU License

More shops I CT for & Love


 "
"


0 comments:
Post a Comment